Bookbinding
Here are some resources!
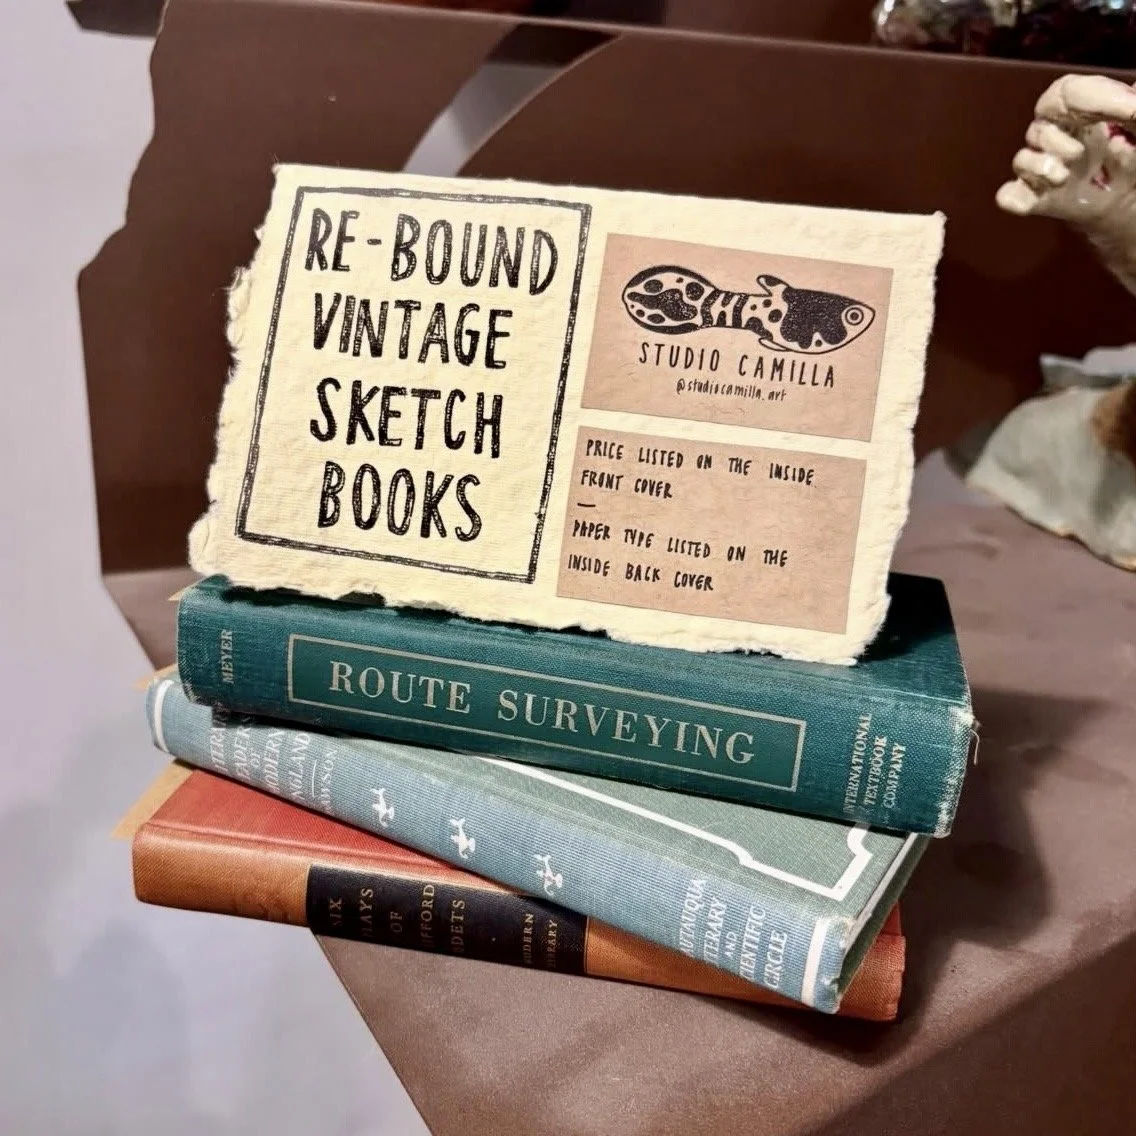
I occasionally teach classes on how to re-bind vintage books, so this is a compilation of resources, supplies, and tips to supplement that class.
How to Find a Vintage Book
When you’re looking for a vintage book to re-bind, keep a few things in mind:
The old thick vintage books are appealing, but I don’t recommend that for a beginner project. Look for a book with a ½ inch thickness or smaller. This will give you more flexibility as you learn the craft.
Look for a book that is 6×9” or smaller for your first few projects. You will have an easier time with a portrait side book instead of a landscape side book.
The book should be in good condition. Look for a book that doesn’t have significant damage/cracking on the spine. Watch out for water damage or staining. Additionally, try to avoid books with a really firm spine if you want your sketchbook to lay flat (example: Barnes & Noble collectible books with a really stiff spine. They look pretty but they are harder to draw/write in)
Unless you’re really in love with a book, don’t spend more than $10 on a vintage book. Even better if it’s under $5. I personally wouldn’t re-bind a rare vintage book since I’d prefer that stays intact. If you have a lower price tag not only are you saving money, but the risk is low that the book you pick is a rare find.
Try to shop at independently owned vintage bookstores! Thrift stores or Goodwill bins can also be a good option but I tend to not find as many good book candidates. If you’re in Vancouver WA, a great place to check out is Vintage Books on Mill Plain.
I’ve made a habit of checking out vintage book sections when I’m antiquing and thrifting, so I generally have a stash of books to choose from when I want to book bind.
——————
Recommended Supplies
I started with more inexpensive supplies and gradually upgraded my supplies over time. This is by no means a required or a comprehensive list. Many items on this list can be thrifted or made yourself (which I encourage!). You can also buy a starter kit which includes a lot of these supplies if you feel intimidated by the choices.
Book Press
Most expensive: Purchase a book press. Amazon has presses ranging from $30-$50, but you can also purchase nicer presses for hundreds of dollars at more specialized shops.
An example which comes with a lot of starter supplies: Amazon Bookbinding Kit
Common: Make your own book press by purchasing supplies at your local hardware store. There’s a lot of tutorials online for this.
Cheapest: Stack heavy books and put your project between them to press. I strongly recommend adding some wax paper between your project and the books to protect your books from stray glue.
Paper Cutter
Most expensive: Purchase a large heavy duty guillotine cutter. If you get this I’m jealous!
Common: Get a paper cutter from Fiskars or a knockoff brand. I’d recommend immediately buying some replacement blades for it as well. You want your paper cutter to be longer than the length of the books you want to bind (example: if a book is 9” x 6”, you want a paper cutter that can do at least 9” cuts)
What I have: Fiskars Paper Cutter 12”
Cheapest: Ruler and Scissors. It can be a pain especially for thicker projects but it does work.
Waxed Linen Thread
You can purchase pre-waxed linen thread or purchase linen thread and wax it yourself. These are for sale as “waxed linen thread for bookbinding” but you can definitely go more specialized with the thread based on your project - whether it’s color or thickness. . Lineco is a common brand.
Glue and Brush
I recommend Lineco Neutral pH Adhesive. You want an archival quality acid free glue which dries clear and flexible.
You can purchase this at most fine art stores: Lineco Neutral pH Adhesive
I just use cheap paintbrushes to spread the glue but there are definitely more fancy brushes you can buy that are bookbinding specific.
Bone Folder
This is used in bookbinding to reinforce the paper folds. There’s several sizes you can get, they’re very inexpensive.
Curved Needle
Also inexpensive, Lineco is a common brand for these.
Awl and/or Binding Guide
Common: You can buy a binding guide to streamline signature hole punching. My preference right now is this product I got on Amazon, though there are other options to be had. I recommend checking Reddit or bookbinding websites if you prefer to not use Amazon:
What I have: Binding Guide
Cheapest: You can manually measure and punch holes with an inexpensive awl and a piece of cardboard to cover your surface.
Paper
Consider your goal for the book you’re re-binding. As an example, I use my re-bound vintage books as my day to day sketchbooks. I know if I use nice paper, I’ll add more pressure with myself to make really finished pieces and won’t reach for it as often. I intentionally use inexpensive mixed media paper so that I’m not precious with it and actually use the sketchbook.
What I use: Blick Mixed Media 18×24
The thicker your paper, the less pages you’ll have in your book. The thinner your paper, the more pages you’ll have but the less they’ll be able to handle from an art supply perspective.
You need your paper to be double the width of your book and at least the height of your book. So if your book is 6” x 9”, you need paper that is at least 9” x 12.” since signatures are folded over pieces of paper.
I recommend acid free paper for the archival qualities. However, if there’s an interesting paper you want to try using, feel free to experiment and see what you like best. You can even use multiple types of paper in the same book - I used to do half watercolor paper, half bristol paper so that I could use a variety of mediums.
End Papers
You need your end papers to be double the width of your book and at least the height of your book, same as the “papers” section.
Most expensive: There are specific bookbinding end papers you can buy or pretty Japanese papers. I haven’t experimented with these personally but there are some gorgeous papers to use out there.
Common: medium thick kraft paper or designer papers from stationary stores. Look for a paper with some strength to it that can withstand being folded again and again. Or, if you find a paper you love which is delicate you could glue it on top of some kraft paper to reinforce it.
Cheapest: instead of buying end papers, you can just use the top and bottom pages of your sewn book block as the end papers. This is really easy and still holds up well.
Bookbinding Cloth/Mesh
This is used to help reinforce the spine during the gluing process.
Common: Lineco bookbinding mesh
Cheapest: Cheesecloth, it’s not as strong but adds a level of reinforcement
Bookbinding Headbands
This is the little ribbon used at the top and bottom of the spine. You don’t have to include this but it looks nice when you do.
Common: You can buy a selection of headbands online, or you can re-use the headband on your vintage book if it has one. Depending on your book it may or may not be in good enough condition to be re-used. Example product
Cheapest: omit it! Or, sew your own using thread and some scrap canvas (there are tutorials for this online)
Bookmark
Optional, but can be a nice edition. The most straightforward method is to buy a roll of ribbon in the thickness you want. Keep in mind the thickness of the book you want to add a bookmark to.
——————
Helpful Resources
I strongly recommend watching their content, there is an excellent variety of beginner and advanced videos.
This youtuber has a book which is an excellent resource as well - Handmade Books at Home by Chanel Ly